

Toilets that have been stomping
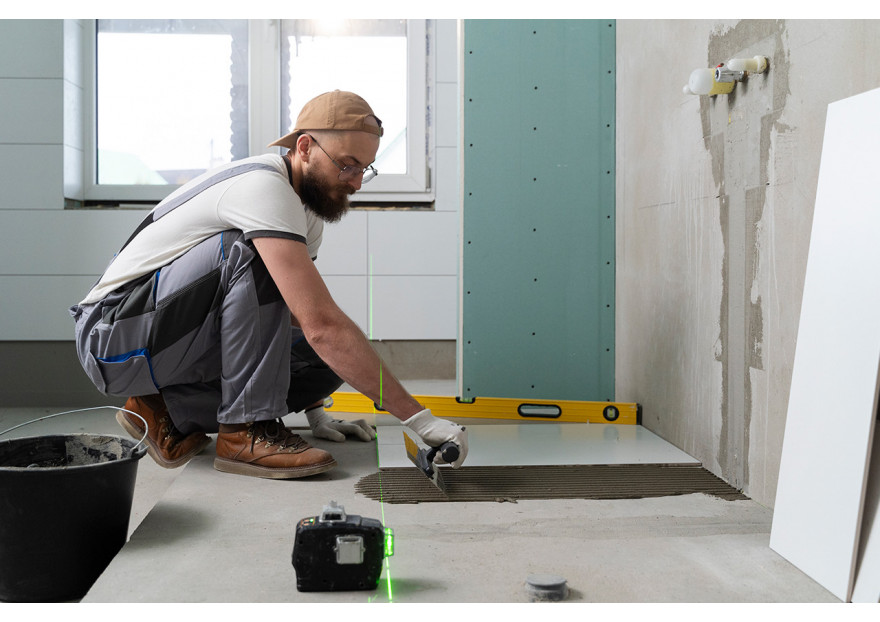
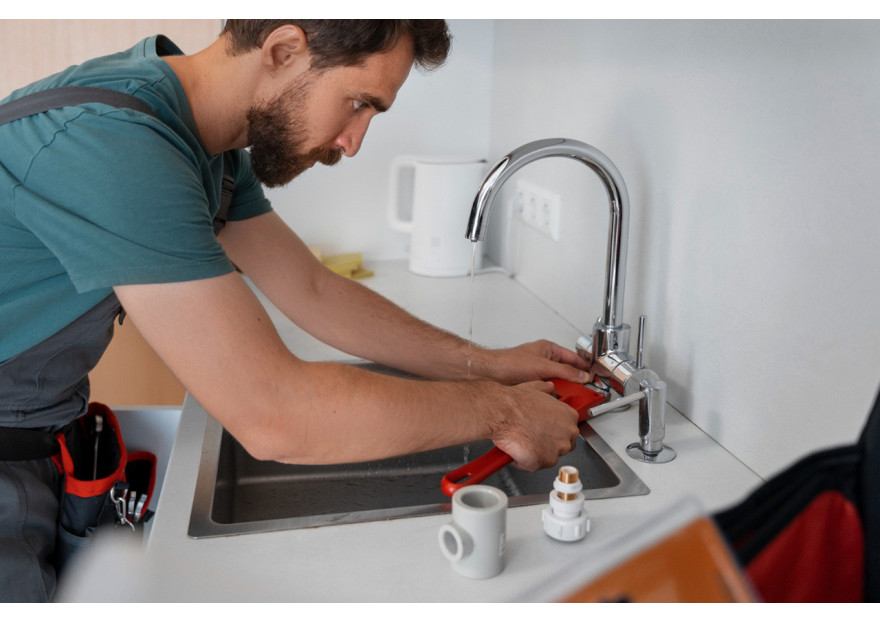
If you suffer from a bathroom faucet drip and don't want to call a plumber, you can try to repair it yourself. You don't need to have great knowledge of plumbing or special tools. It only takes a little time and desire to work. We explain how to fix a dripping faucet in 5 easy steps.
1. Close the water
This is the first and most important step. Turning off the general water faucet or cutting faucets before work can prevent accidents. Among these would be slips, bumps, humidity and even short circuits, so do not forget to do it.
2. Disassemble the faucet
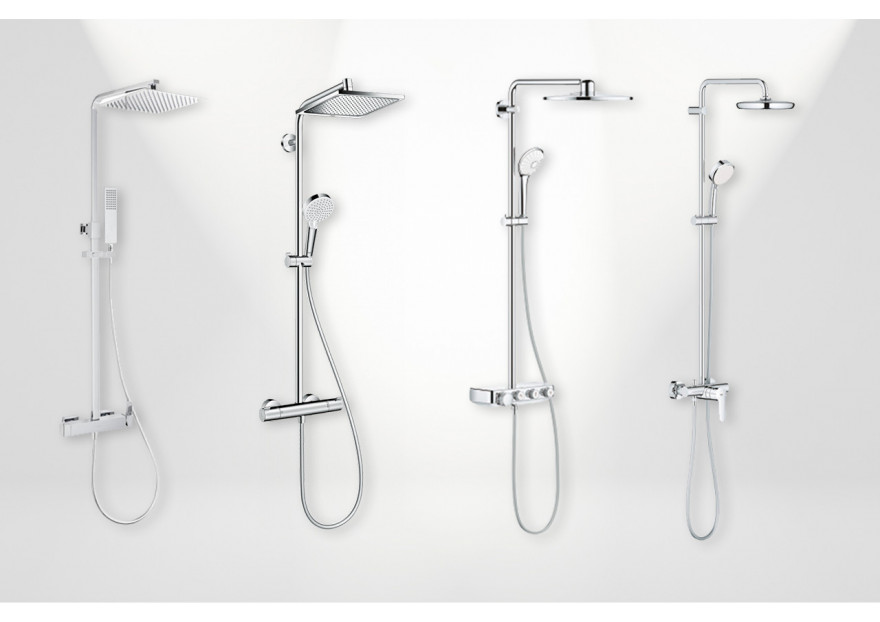
Once you have made sure that the water is closed, you have to disassemble the tap. Before you start removing parts, you have to know the type of faucet you are going to work with. There are countless models, although four main ones stand out.
-
Individual tap. This type of taps do not act as a mixer and only lets through a type of water, usually cold. They are common in gardens, terraces and garages. They are also usually in public toilets. In most cases, it is enough to unscrew the nut under the lever or pushbutton to access the inner mechanism.
-
Monoblock faucet. They are those taps that have two controls in the same piece, one for cold water and one for hot water. Unlike the individual ones, these mix the water inside so that it comes out tempered. Under the handles there is usually a nut-shaped piece to disassemble each of the two sides.
-
Single-lever faucet. They are the most common faucets in the home. They are composed of a lever that rises and turns right or left to regulate the temperature. First you have to disassemble this piece, the handle, and then unscrew the cartridge protector, in which the inner joints are.
-
Thermostatic tap. These types of faucets are more complex. They are composed of a part that regulates the flow and another that controls the temperature. All this is done by means of a cartridge, usually ceramic, which is located inside. Each manufacturer uses a different system, so you will have to be very observant, use the manufacturer's instructions or look for a tutorial, to know how to disassemble it.
3. Replace damaged parts
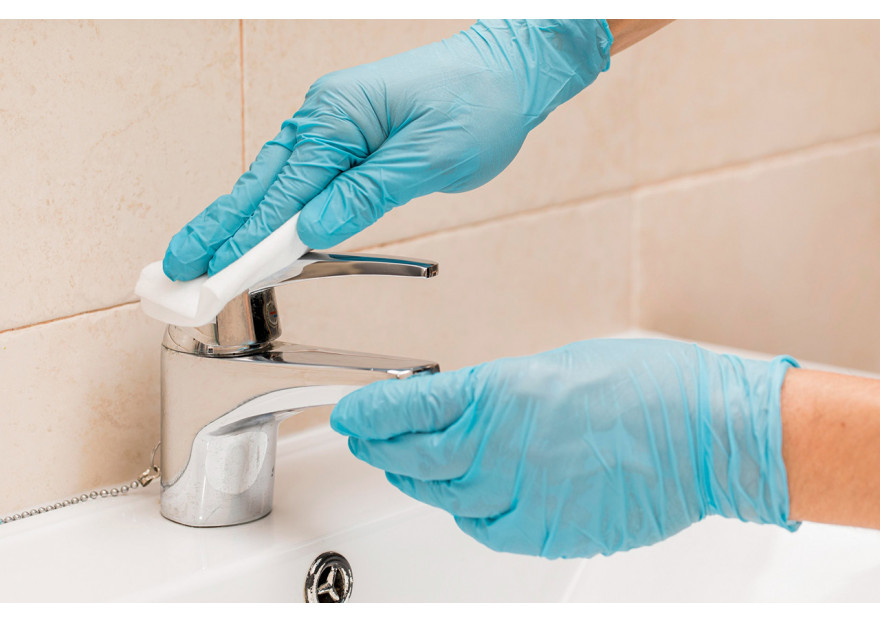
Most of the time, when a faucet leaks, the problem is in the joints or shoes inside. Sometimes, these joints get some dirt that prevents it from closing completely. If this happens, it will be enough to clean the rubber and put it back in place.
Other times, what happens is that the joints crack or give themselves. In this case it will be enough to go to a plumbing or DIY store and ask for new rubbers. If this happens, it is best to take advantage of and change all the joints, not just one.
In cases where the faucet is single-lever or thermostatic, it may be enough to change a gasket or it may be necessary to directly change the inner cartridge. The joints are very economical and it is worth checking before if this is the problem.
4. Turn on the faucet
Once the mechanism has been repaired, the faucet must be mounted again. To avoid problems it is important that you look closely at how each piece was placed before disassembling it. If a thread gives problems, it is preferable that you do not force and start assembling it again from the beginning. If it is disturbed, it will be useless.
5. Open the water and test
Finally, open the water and check that the faucet opens and closes correctly. It is normal that at first air comes out along with the water, so do not open it suddenly. In addition, some debris may have remained, so unscrew the filter and keep it open for a few seconds before closing.
Comments
No comment at this time!
Leave your comment